Sidebar
Table of Contents
24.7.1 Projects
Texts in MarkDown syntax can be written quickly and read well, because Gambas-MarkDown comes with everything you need to generate (simple) web pages, among other things.
24.7.1.1 Project 1 Wiki
In the Gambas examples you will find the project SmallWiki, in which the classes MarkDownLink and MarkDown are used. It follows the approach of the new Gambas Wiki, which you probably already know under the address http://gambaswiki.org/wiki.
Try out the project at your leisure and have a look at the source texts - especially if you want to use a comfortable help system for your (larger) projects yourself, which can be called up in any web browser.
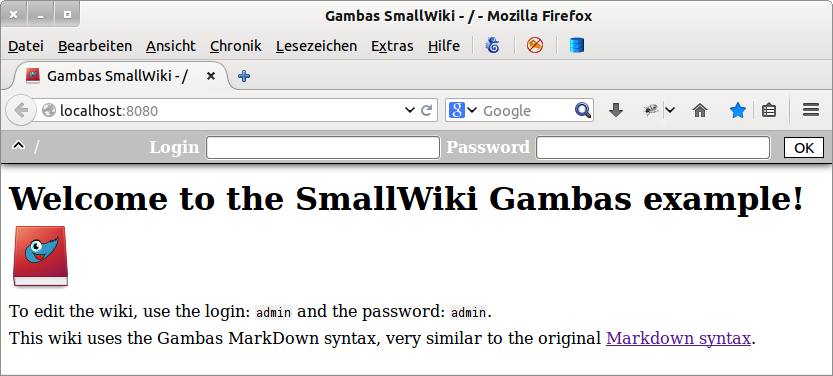
Figure 24.7.1.1: Calling the wiki (server: internal web server HTTPD on port 8080)
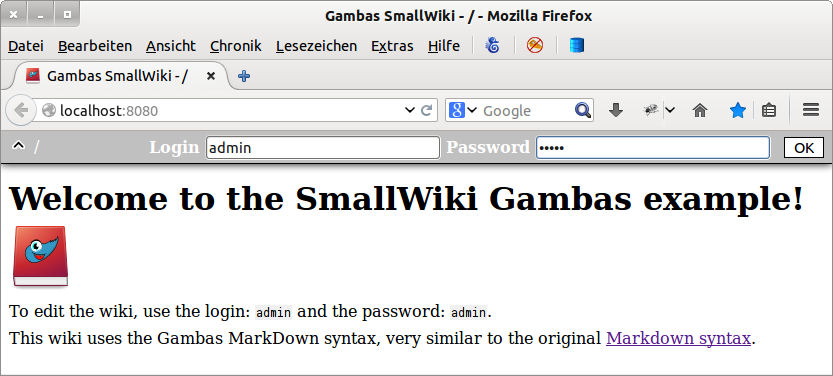
Figure 24.7.1.1.2: Entering the administrator account data and confirming with OK
You create a new page in your wiki by entering the namespace and the name of the new (web page without extension!) in the address line. The wiki software recognises that the requested web page does not exist and gives you the further procedure in an error message:
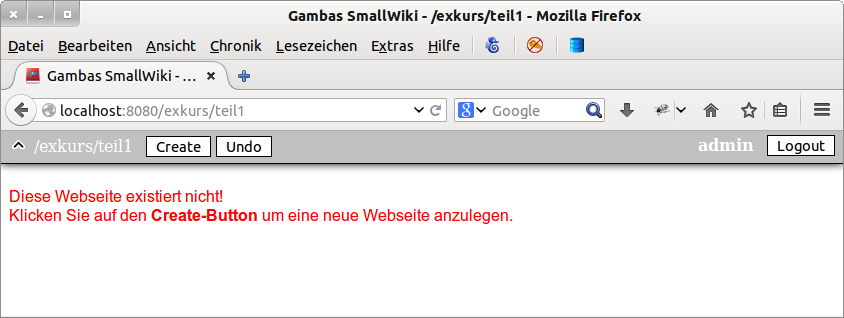
Figure 24.7.1.1.3: Creating a new, empty page with 'Create'.
You can then edit the new, empty web page and design it with text in MarkDown syntax. Do not forget to save the edited web page. Afterwards you should edit the start page and insert a link to the new page there:
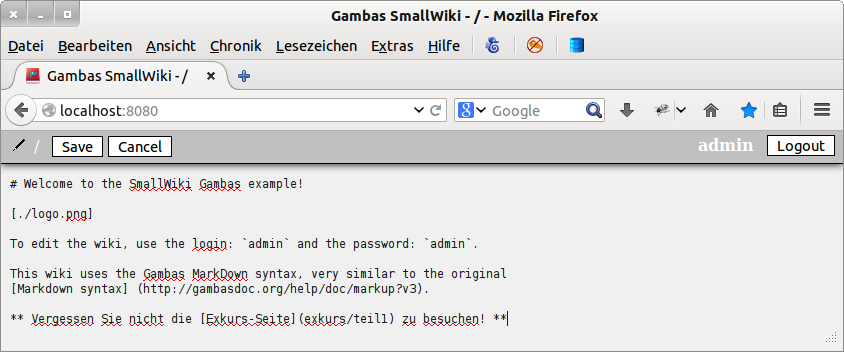
Figure 24.7.1.1.4: Editing the start page and inserting a link
After saving, you will see the link in the home page.
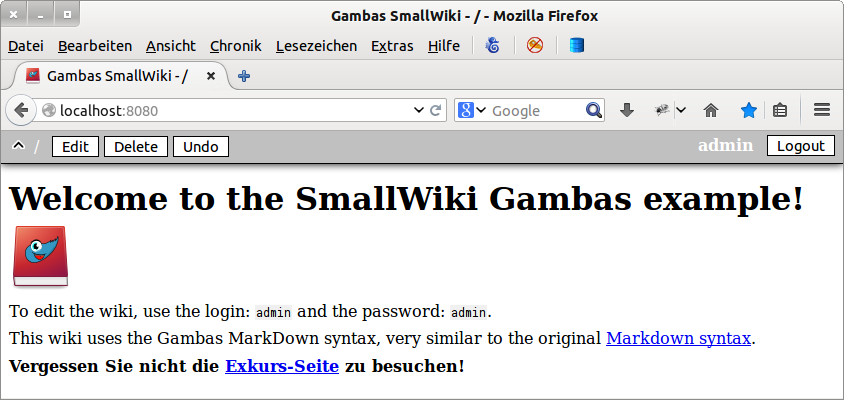
Figure 24.7.1.1.5: Modified start page with link to excursion page
24.7.1.2 Project 2 - Generate a web page from a MarkDown file
Project 2 shows you how to generate individual web pages whose basis is a file in MarkDown syntax. All necessary files are edited and saved directly in the project. When the programme is started for the first time, image files, CSS files and other multimedia objects are exported to a folder whose name you can freely specify. Changes in the style sheet file md_style.css used are transferred to a newly generated web page.
A special feature is the inner linking via anchors and links. While you can formulate a link to a link target (anchor) with MarkDown syntax like this:
Hier finden Sie Informationen zur [Konstanten 'Syntax'](#Syntax).
you must insert the appropriate anchor yourself in HTML in the MarkDown text:
<a id="Syntax"></a>
At any point in the MarkDown text, you can cause a jump to the top of the page like this - without specifying a special anchor:
<a href="#top">Zum Seitenanfang...</a>
You can also place a link on a matching image:
<img src="./images/home.png"><a class="mylink" href="#top"> HOME</a>
To implement a display like this:
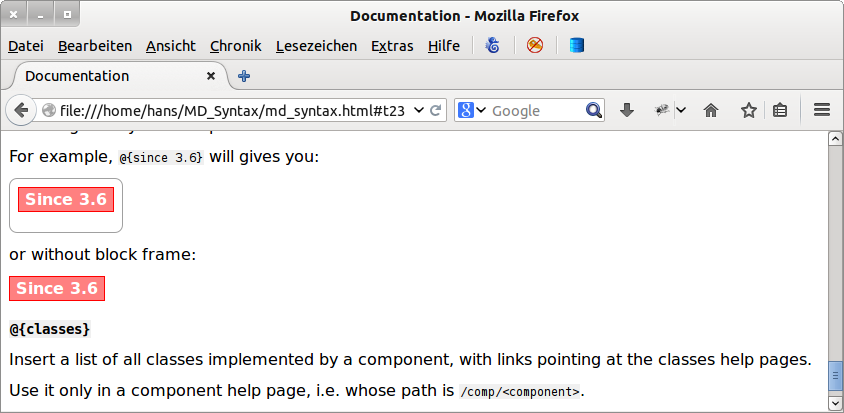
Figure 24.7.1.2.1: Representation for @{since 3.x} in the web page
you need to extend the gb.markdown component. This can be done very easily by writing your own class myMarkDown.class, which inherits the existing class MarkDown with the first line 'Inherits Markdown'. In the function Command(…) you determine how a line with @{since 3.6} is converted into valid HTML:
' Gambas class file Inherits Markdown Public Function Command(sCommand As String) As String[] Dim aArg As String[] aArg = Split(sCommand, " ", Chr$(34)) sCommand = aArg[0] If sCommand = "since" Then Return ["<div class=\"since\">" & ("Since") & " " & Html(aArg[1]) & "</div>"] Endif End ' Command(...)
To generate a web page and save it in the specified folder, start the main programme, whose interface is very spartan:

Figure 24.7.1.2.2: Starting the programme
Inserting a table in MarkDown syntax into a MarkDown file is a particular challenge. This task is performed by a separate form in Project 2 → Figure 24.7.1.2.4.
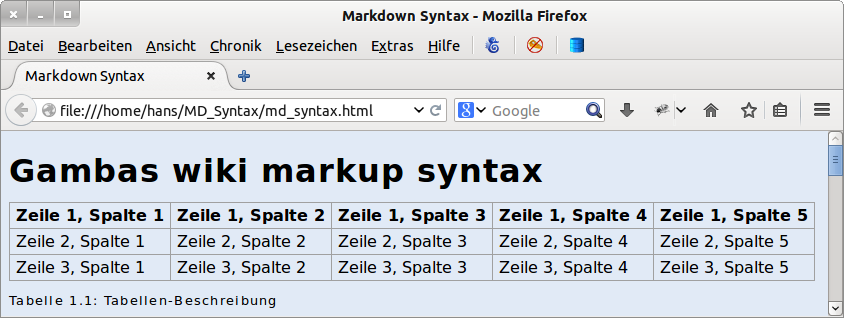
Figure 24.7.1.2.3: Tables in the website
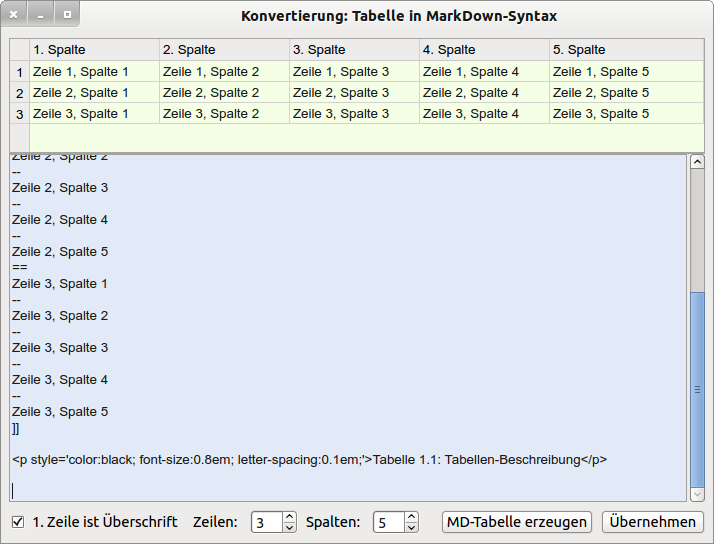
Figure 24.7.1.2.4: Table conversion
With 'Apply' the table definition in MarkDown syntax with matching table description is taken over into the clipboard and can be immediately transferred from there into the MarkDown file md_syntax.md to be edited.
24.7.1.3 Using the generated web pages
You can view the wiki in the first project immediately from within the programme because internally a web server (HTTPD) takes over the delivery of the HTML pages → Figure 24.7.1.1.1 and then the display takes place in the standard browser.
With these commands in the (system) console, you can push the wiki display via the Gambas executable file SmallWiki36.gambas:
hans@linux:~/Projekte/SmallWiki$ GB_HTTPD_PORT=8080 gbx3 -H
gb.httpd: bind 0.0.0.0 - Address already in use
Then call up the WebPage in the web browser like this:
http:localhost:8080 oder localhost:8080
and you will also see the wiki as in Figure 24.7.1.1.1. Exit the interpreter CTRL+C.
Project 2 will certainly then be used to generate a web page as help for a Gambas programme. You can then insert the web page into the project of your choice and call it from the programme at runtime. Whether you display the web page internally in the programme, for example in a WebView, or with
Desktop.Open("file:///" & sHTMLDateiDirectory &/ fHTMLFileName)
externally in the standard browser, depends entirely on your ideas.
To give the pages their own style, you can adapt the CSS file according to your wishes. When doing so, only work with a few colours for selected elements.
Hint:
In the download area → chapter 24.7.0 you will find a reference list for the Gambas MarkDown syntax. This syntax overview uses only one notation for some marks - even if there are alternatives. The best solution is to print it out for reference. However, you will notice yourself how quickly new (help) texts can be written in MarkDown syntax.

