Sidebar
Table of Contents
4.3 IDE - Menus
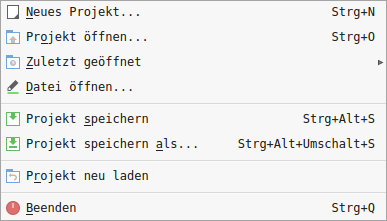
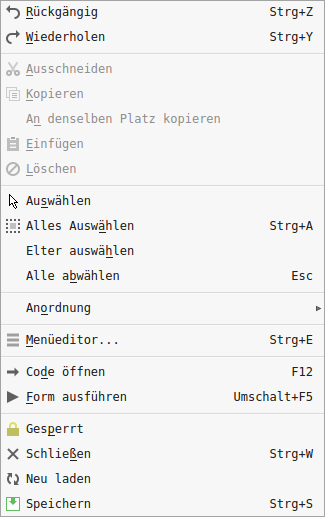
In this chapter, menus of the IDE and their sub-menus are introduced. The descriptions of the actions are informative, so that additional explanations are largely dispensed with.
4.3.1 Menus in the menu bar of the IDE

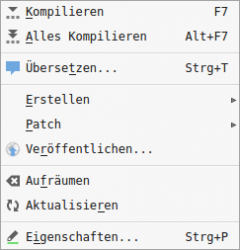
Figure 4.3.1.4: Project - Create menu
A dialogue opens for each of the three entries, which is particularly extensive for creating an installation package → Chapter 11.10.0 Installation package.

Figure 4.3.1.5: Project - Patch menu
Chapter `11.7 Project Maintenance` describes in detail how to create and apply a patch.
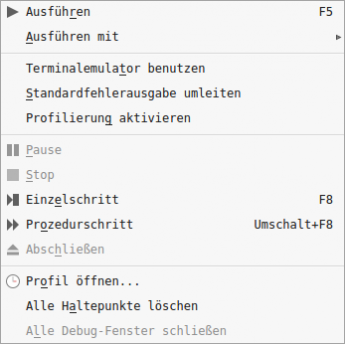
The entry 'Execute with' refers to arguments that you can give to the programme. In the dialogue you define the required arguments. By default, no arguments are used. If you connect a terminal emulator, the output, for example, with the instructions Print or Debug or Error is not displayed in the console of the IDE, but in a terminal window. Profiling as a form of dynamic programme analysis is described in chapter `11.5.0.3.3 Profiling`.
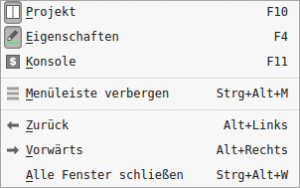
It is worthwhile if you remember the function keys for the first three entries well, because switching between the windows mentioned can then be done very quickly.
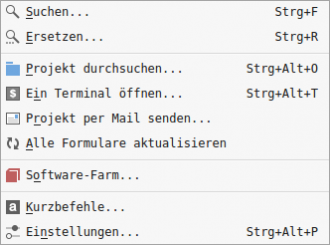
The entry 'Open a terminal' is interesting because it gives you access to the system's console for quick research. If you want to share the current project with others, you will appreciate the possibility to send the complete project by email without much fuss. Select 'Send project by e-mail…' to open the standard e-mail client. The project name is already entered as the subject and the project is already attached as an archive. Finally, enter the email addresses and explanatory text - and then: Off you go! The entry 'Settings…` opens the dialogue for the global configuration of Gambas.
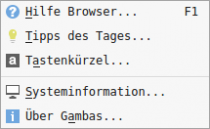
With the function key F1 you can reach the complete Gambas documentation (Wiki) - assuming an internet connection. The entry `System Information` provides all the information about the system and the current Gambas version that you absolutely need for reporting a bug.
4.3.2 Context - Menus
You should all be familiar with the context menus for selected objects in the IDE. However, whether you use all the context menus depends on your preferred way of working.

Figure 4.3.2.1: Project context menu ► New
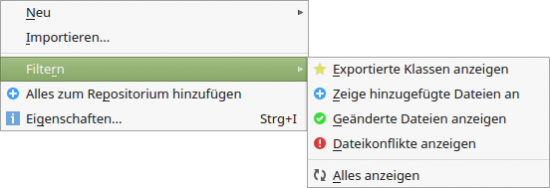
Figure 4.3.2.2: Context menu project ► Filter
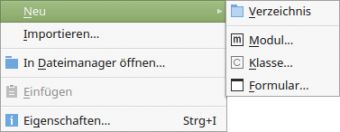
Figure 4.3.2.3: Context menu project - Source ► New
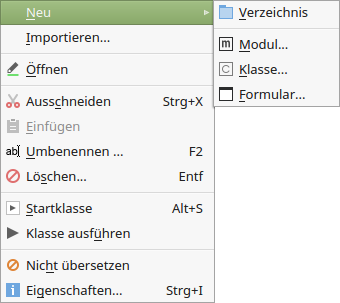
Figure 4.3.2.4: Context menu project - source - object ► New
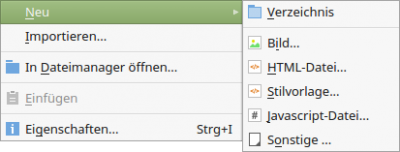
Figure 4.3.2.5: Context menu project - data ► New
Comment
- Using the context menu for the project in the project window, you can only create a new directory or view files after filtering.
- You can also create a directory or a module or a class or a form with the context menu for sources. Alternatively, you can import these files from existing projects with the entry 'Import'.
- Select a file in the Source folder, then you can use the context menu to edit the selected file or change properties or trigger actions.
- Interesting is the possibility to create new files via the context menu for data (New). For example, under 'Style Sheet' you can create a CSS file or an XLS file. Other' stands primarily for simple text files such as *.txt or *.md or *.xml.
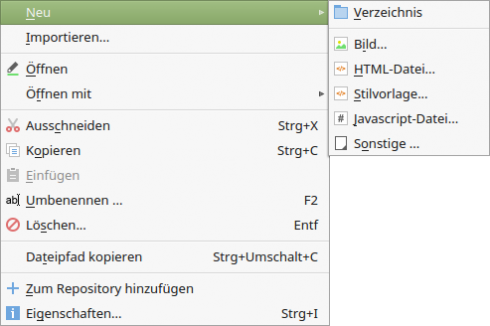
Figure 4.3.2.6: Context menu project - data object ► New
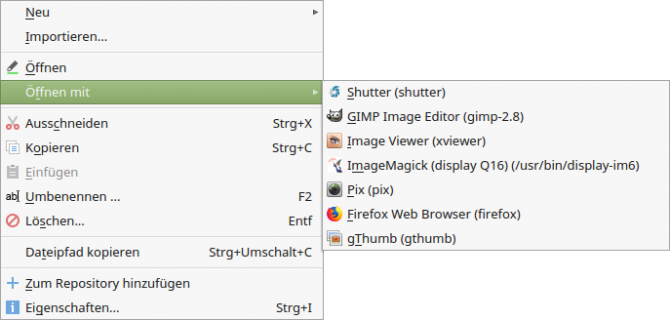
Figure 4.3.2.7: Context menu project - data object ► Open with
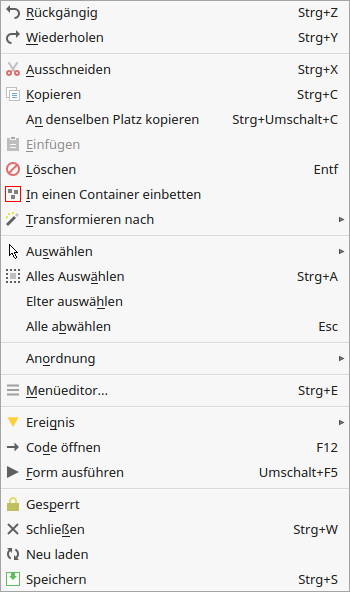
Figure 4.3.2.8: Context menu Shape - Control
Comment
- If you select a file in the Data folder, you can use the context menu to specify the programme with which the selected file is to be opened outside the IDE. However, only those programmes are offered that have been recognised as installed on the system. Note: A programme is considered installed if it can be found in the paths in the PATH environment variable.
- Note: Double-clicking on an image file or a simple text file, on the other hand, opens a special internal editor in the IDE.
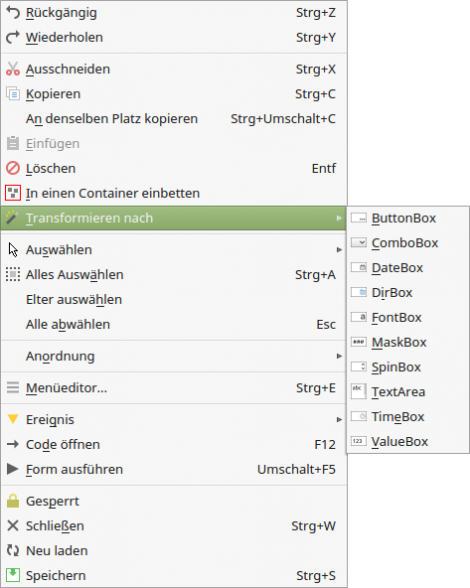
Figure 4.3.2.9: Context menu Shape - Control - Transform
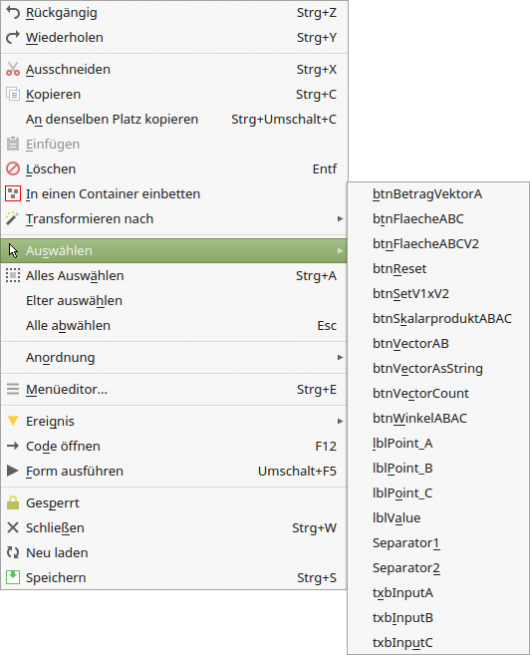
Figure 4.3.2.10: Context menu Shape - Control - Select
Comment
- The entry `Transform to` offers you the possibility to transform the currently selected control into another one - to exchange it.
- Whether you use the `Select` menu item depends very much on the current state of your work in the IDE. You can quickly switch to the control whose properties you want to change next.
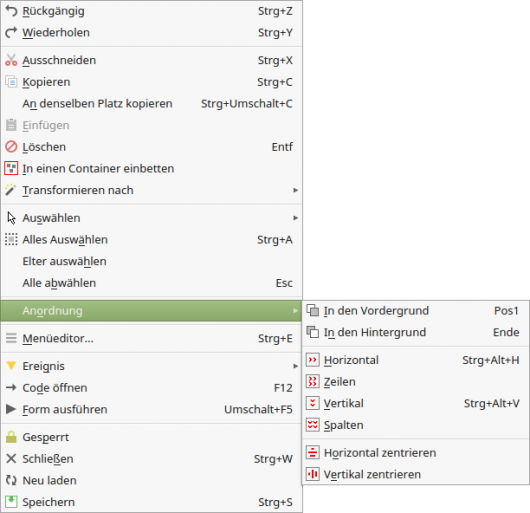
Figure 4.3.2.11: Context menu Shape - Control - Arrangement
Comment
- The arrangement of the visible controls is always preceded by the selection of the controls to be arranged.
- Selecting a control is done with a single click on the control. By holding down the CTRL key, you can freely select further controls. In another variant, you select several controls lying together with the mouse while holding down the Shift key (lasso function).
- Single-click on the shape or press the ESC key to cancel the selection.
- Note that if at least two controls are selected, the corresponding toolbar changes to the shape editor and offers you the entries there that you also see in Figure 4.3.2.11 Context menu Shape - Control - Arrangement.
- After selecting, you can arrange the controls.
- With CTRL+Z you can undo the action.

