Sidebar
Table of Contents
4.1 IDE - Configuration
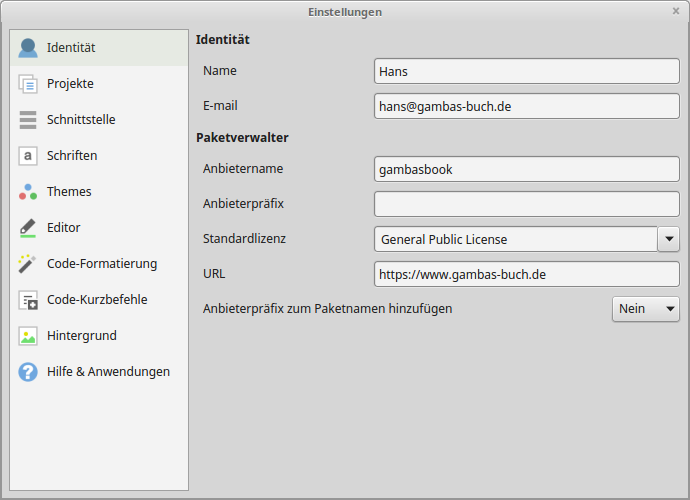
There is only one global configuration for Gambas - stored in a file in the path ~/.config/gambas3. You make the configuration in a dialogue under IDE> Tools> Settings.
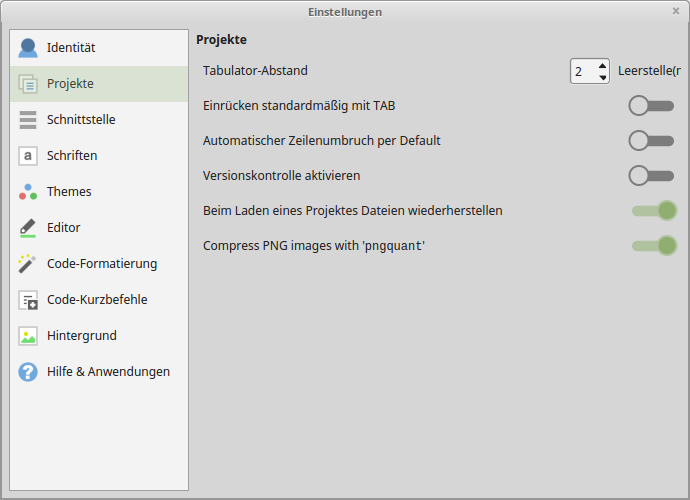
In addition to the global configuration, you always edit the project-related configuration under IDE> Menu> Project> Properties. This configuration file is located in the project folder.
4.1.1 Configuration 1
The identity details are optional; as are the provider name and provider prefix details. They are automatically transferred to the dialogue for creating an installation package (Chapter 11.10) and therefore do not have to be entered again each time.
All further details on the global configuration of Gambas in this chapter correspond to the configuration of the Gambas version (3.12.2 - 7 April 2019) used by the author. They are tried and tested and have been used this way for many years.
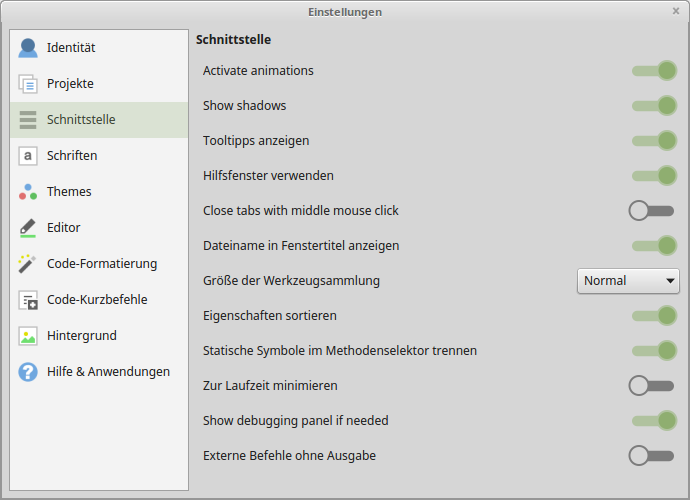
Specifying `Minimise at runtime` hides the IDE window, which you then have to show again manually when the programme has finished.
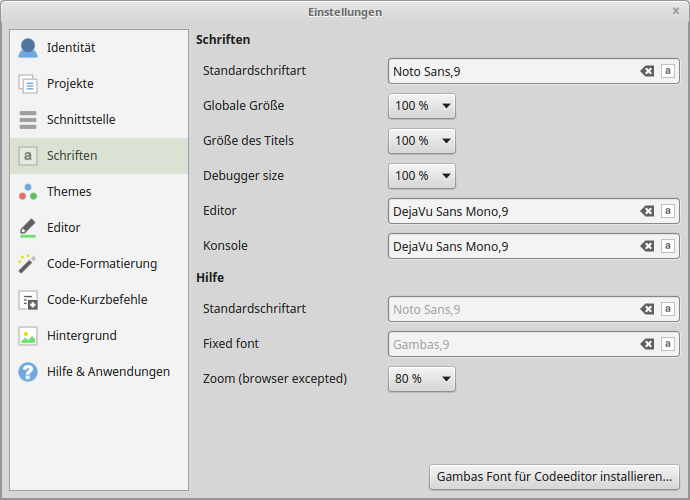
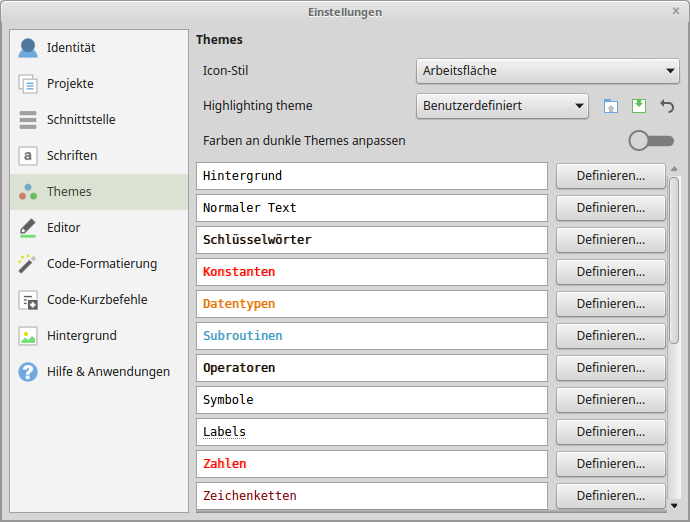
The specification 'standard font' refers to texts in the IDE. For the editor and the output in the console of the IDE, the author has changed the font.
All predefined specifications were taken over. The option `Adapt colours to dark themes` depends of course on the chosen colour scheme. Go ahead and experiment! If it brings a gain in readability for you, then it is worth it.
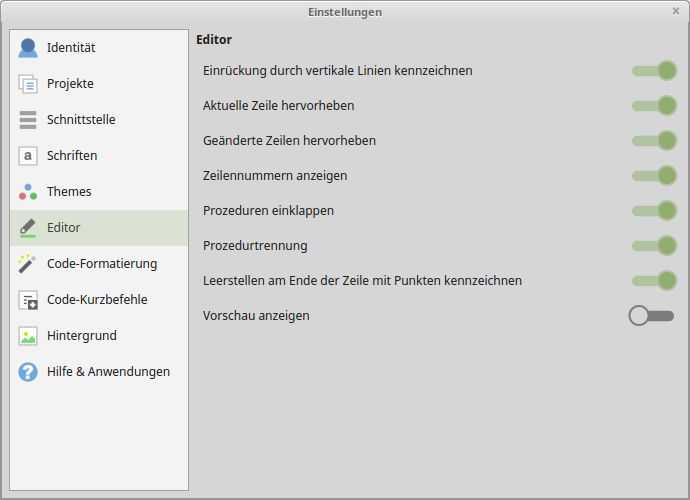
The specification 'Show preview' creates a window - docked at the right margin - in which the source text is additionally displayed. Find out whether the preview offers you any added value.
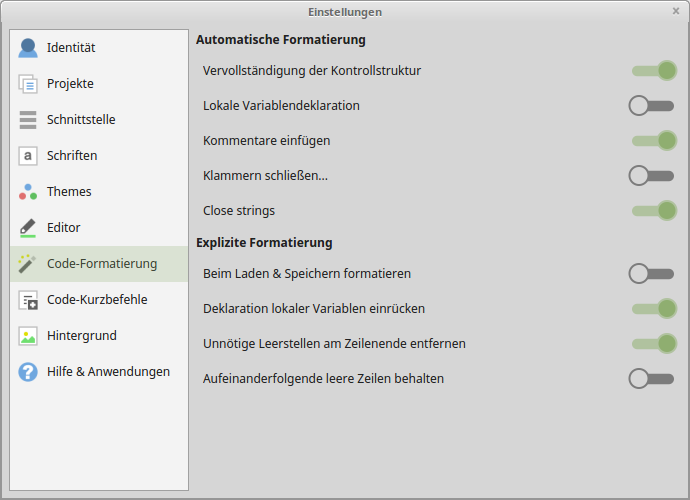
Figure 4.1.1.7: Code formatting
If you format the source code in a special way, you should not activate the option 'Format on load & save'. The automatic closing of brackets was deactivated after a short time by the author - it disturbed the writing flow.
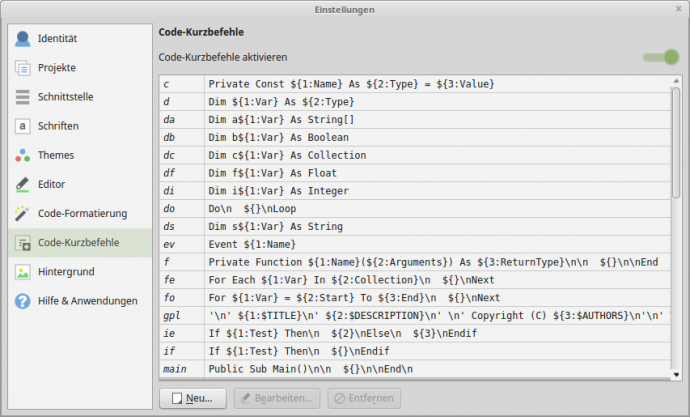
Figure 4.1.1.8: Code shortcuts
Only a few of the code shortcuts are used intensively by the author. No use has yet been made of the possibility to create own commands (New…).
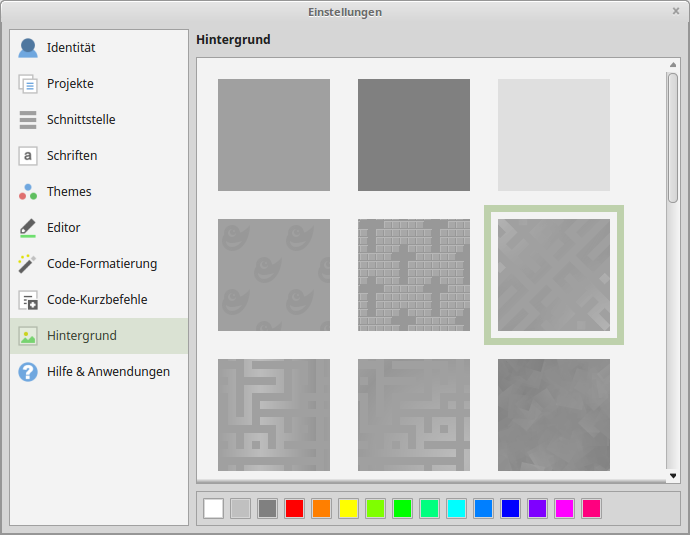
The background chosen by the author is only slightly structured and fits well with the design of the IDE. If you like it more colourful, you can also set the background to be monochrome and without structure.
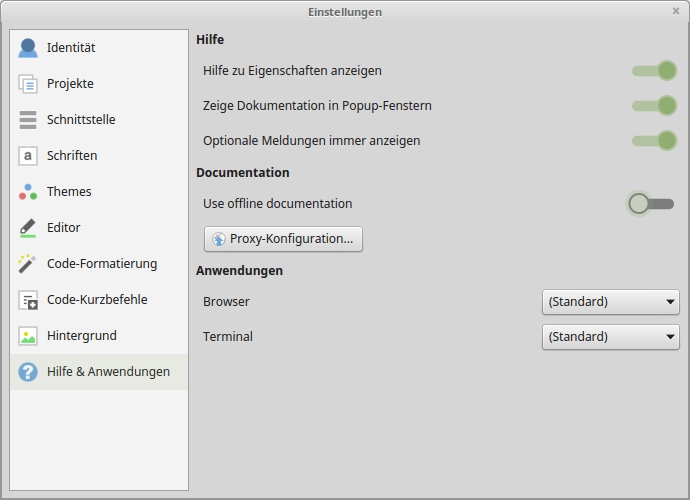
Figure 4.1.1.10: Help and applications
The specification 'Use offline documentation' is not activated for the author. It is set to online help, but this requires access to the Internet.
4.1.2 Configuration 2
The notes in this chapter refer to the configuration of the three menu bars in the IDE. The description of the menu and sub-menus and their actions are described in chapter 4.3 IDE - Menu.
4.1.2.1 Menu bar
The following describes the individual actions that are triggered when a tool button in the menu bar is pressed. Afterwards, you will learn how to customise the menu bar within narrow limits - which was done at the author's in the displayed menus:

Figure 4.1.2.1.1: Toolbar menu
- Create a new project.
- Open an (existing) project.
- Save the project.
- Save the project under a new name. Work continues with the new project!
- Set project properties.
- Edit global configuration in an extensive dialogue.
- Create and save an executable file *.gambas.
- Create and save source package.
- Invoke translation dialogue.
- Compile the current class.
- Compile the project.
- Execute the (start) class.
- Pause the programme.
- Stop the programme.
- Start the programme in single-step mode.
- Start programme in procedure step mode.
- Complete current function.
- Run programme up to current line in source code.
- Create installation package.
- Search project.
- Change search direction (forward - backward).
4.1.2.2 'Editor' menu bar

Figure 4.1.2.2.1: 'Editor' menu bar
- Switching between shape and source editor windows.
- Save source text. Modified source text is marked by * in the window title.
- The source text is reloaded. Note the dialogue displayed if the source text has been changed but not yet saved!
- Undo changes.
- Express text (block mode).
- Indent text (block mode).
- Restore changes.
- Insert text from clipboard.
- Insert colour from predefined colours.
- Insert current date in different formats.
- Insert special characters.
- Dialogue for special insertion of text.
- Comment out source text (block mode).
- Uncomment source text (block mode).
- Set or delete breakpoint (red circle) before current line in editor.
- Menu button to select procedures or functions or events to edit.
4.1.2.3 Menu bar 'Form'

Figure 4.1.2.3.1: 'Form' menu bar
- Switching between form and source editor windows.
- Save modified source text. Modified source text is indicated by a * in the window title.
- The source text is reloaded. note the dialogue if the source text has been changed but not yet saved!
- Undo changes.
- Restore changes.
- Start menu editor.
- Switch grid on and off on the shape.
- Switch information tooltips on and off.
- Bring control to the foreground.
- Bring control to the background.
- Centre control horizontally - in relation to the shape. The Y value is retained.
- Centre control element vertically in relation to the shape. The X value is retained.
- Set text font on a control or a selected group of controls.
- Set text on a control element or a selected group of control elements to 'bold'.
- Set text on a control or a selected group of controls to 'italic'.
- Set text on a control or a selected group of controls to 'underline'.
- Increase text size on a control or a selected group of controls Text.
- Decrease text size on a control or a selected group of controls.
- Reset text size on a control or a selected group of controls to the default size.
- Change foreground colour for a control or for a selected group of controls.
- Change background colour for a control or for a selected group of controls.
4.1.2.4 Configure menu bars
You can change all three menu bars within narrow, predefined limits. You call up the context menu with the right mouse button in each case over an empty area of a menu bar:
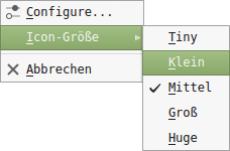
Figure 4.1.2.4.1: Context menu menu bar
Select the entry `Configure…`. A window opens that contains different elements depending on the menu bar:
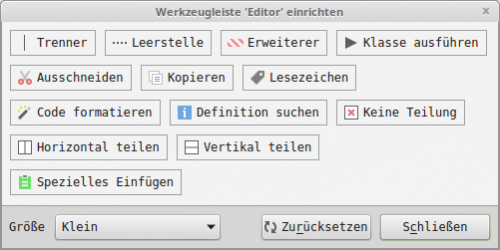
Figure 4.1.2.4.3: Selection `form
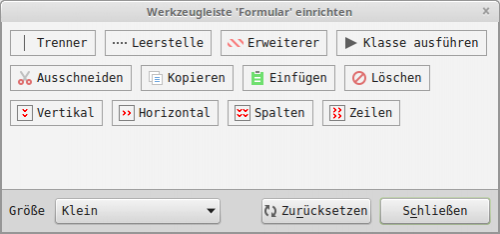
Figure 4.1.2.4.4: Selection `Source Editor`
Drag and drop the selected menu icon from the configuration window onto the menu bar or from there onto the window if it is to be removed from the current menu bar. You can preset the size of the menu icons in the pop-up menu in the second entry or also set them in four levels in the current toolbar.

