Table of Contents
11.10.2 Installing the installation package on the target computer
11.10.2.1 Information about the target computer
The target computer was realized by cloning a virtual Mint-Master machine under VirtualBox on the author's development computer. As a result, the target computer always had a freshly installed Mint 17.1 system (Rebecca) for all installation experiments.
11.10.2.2 Necessary work on the target computer
A generated installation package contains only your Gambas project. In addition, it lists all dependencies that must be installed by the package manager on the target computer (recursively) before your installation package can be installed.
Here is a section of the DEBIAN/control file in an installation package with the list of dependencies:
Depends:
gambas3-runtime (>= 3.6), 		' Gambas dependencies
gambas3-runtime (<< 3.99.0),
gambas3-gb-args (>= 3.6),
gambas3-gb-args (<< 3.99.0),
gambas3-gb-image (>= 3.6), gambas3-gb-image (<< 3.99.0),
ambas3-gb-qt4 (>= 3.6), gambas3-gb-qt4 (<< 3.99.0),
gambas3-gb-form (>= 3.6), gambas3-gb-form (<< 3.99.0),
gambas3-gb-settings (>= 3.6),
gambas3-gb-settings (<< 3.99.0),
gambas3-gb-qt4-ext (>= 3.6),
gambas3-gb-qt4-ext (<< 3.99.0),
bluefish (>= 2.2.5)			' Extra dependence
An advantage of installation packages is that you do not have to search for and resolve the dependencies yourself. These dependencies are automatically installed when they are available through the system's Package Manager. The package manager solves what is missing and gets exactly that from the repositories it knows. In order to resolve a Gambas package and automatically download missing packages, it is only necessary to specify a suitable Gambas package source and the target computer is online.
A first attempt to install a Gambas installation package with the gdebi package installer ended with this error message:
Figure 11.10.2.2.2.1: Error message
A look at application management showed that
- Gambas packages in MINT 17.1 are present in the package sources,
- the gambas packages are only available in one version < 3.6 (? version: 3.1.1-2.2ubuntu4)
The simplest way - under Ubuntu and Mint - to add the matching Gambas packages in the stable version on the target computer is to use the PPA maintained by the 'Gambas Ubuntu Maintainers' team (→ chapter 2.3 Installation from Alternative Sources - PPA):
mint@linux ~ $ sudo add-apt-repository ppa:gambas-team/gambas3
You must then update the package sources absolutely:
mint@linux ~ $ sudo apt-get update
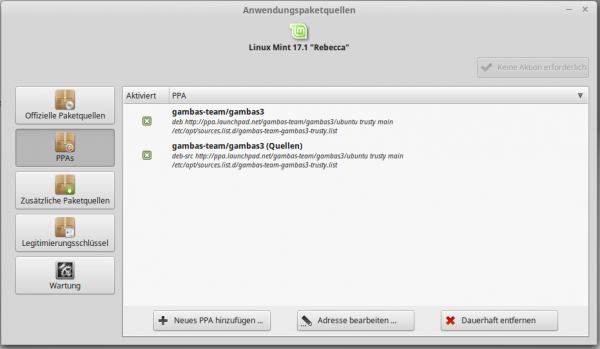
Here you can see the result: The Gambas package source is entered in the package manager of MINT:
Figure 11.10.2.2.2.2: PPA in the package manager
11.10.2.3 Installing the installation package on the target computer
Copy the IP_StructDB folder with the generated installation package from the development host into the home directory of the user of the database application StructDB on the target host:
Figure 11.10.2.3.3.1: Contents of the installation package
In MINT 17, gdebi is a graphical installer for single packages installed, which can be used independently of the desktop. The program has the big advantage - in contrast to the dpgk program - that it reloads and installs dependencies from the package sources.
Start the gdebi package installer by double-clicking on the deb.file:
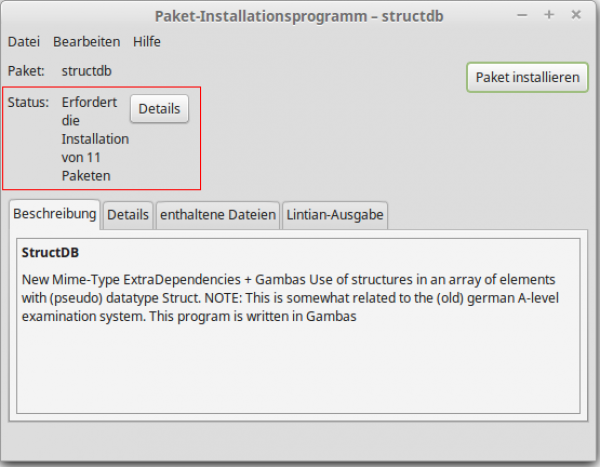
Figure 11.10.2.3.2: GUI package installer
Under Details (marked in red) look at the 11 packages (dependencies) that must be installed before installing StructDB.
Start the installation by clicking Install Package with the required root privileges.
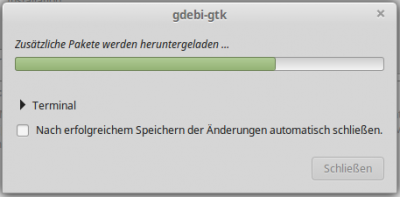
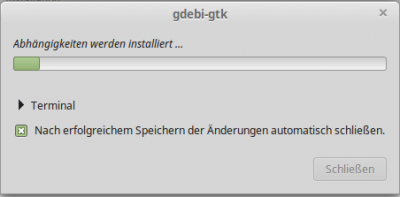
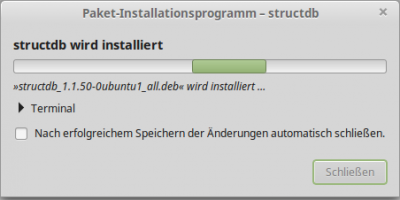
First additional packages are downloaded, then the dependencies are installed and finally the program StructDB is installed:
Figure 11.10.2.3.3.3: Step 1: Download additional packages
Figure 11.10.2.3.3.4: Step 2: Install dependencies
Figure 11.10.2.3.3.5: Step 3: Installing the StructDB program
11.10.2.4 Performance monitoring
If you open the menu, you will see the StructDB program under the menu item “Office” (office), which you can start after double-clicking:
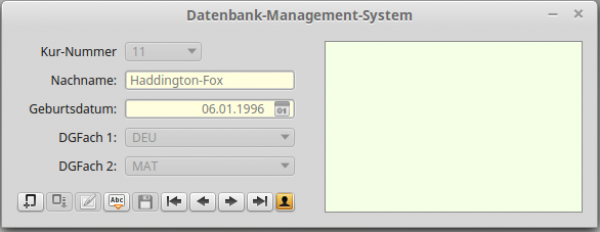
Figure 11.10.2.4.1: GUI program StructDB
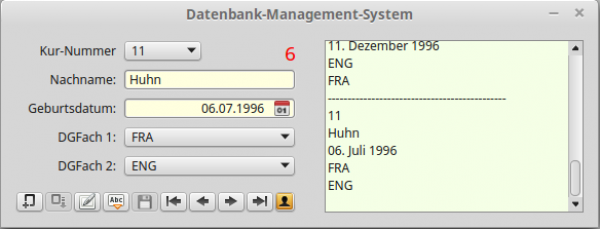
To call up program help, press function key F1. With the Escape button you can close the help window, with the last button after the navigation you can call up information about the program developers, immediately start entering new data sets and saving them in a structure array and exporting this structure array with all data sets (serialized) to a file with the extension. sdb in a folder of your choice. Alternatively, you can import the database file example. sdb in the ~/StructDB folder:
Figure 11.10.2.4.2: Data import
You can also call the program in the console; in the second case, with the (pattern) database file example. sdb in the ~/StructDB folder as an argument:
mint@linux ~ $ StructDB
mint@linux ~ $ StructDB -- /home/mint/StructDB/example.sdb
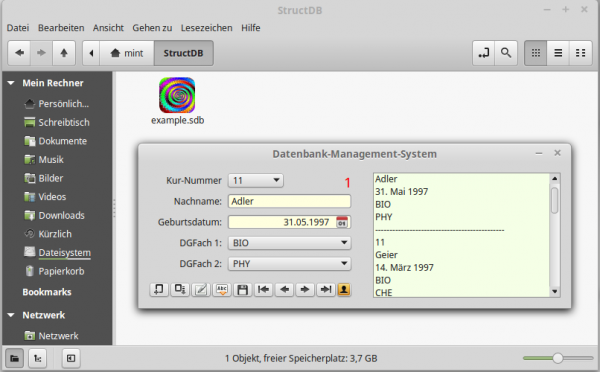
A double click on the file symbol starts the program StructDB with the database file example. sdb as argument.
11.10.2.5 Additions and alternatives
Local package sources
In paragraph 11.10.2.2.2 you will find the requirement that you must be online to reload missing packages. If this is not possible for the target computer, then use a local package source. These are package sources on data carriers (CD/DVD, USB stick, external hard disk) or in the local network (LAN). Under the link http://wiki.ubuntuusers.de/Lokale_Paketquellen you will find suggestions on how to create a local package source. Then specify your local package source in the Package Manager. Usually DVD/CD are already registered as default package source in the Package Manager, so no special action is required.
Start of the English program version
With this call you can start the program temporarily in the English version:
mint@linux ~ $ LC_ALL=en_GB.utf8 StructDB
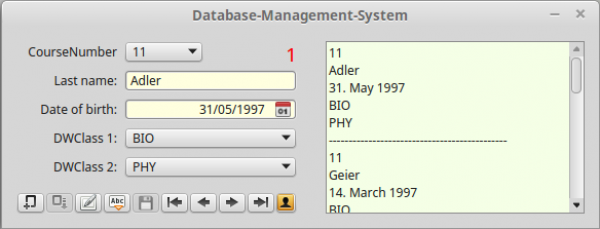
Figure 11.10.2.5.1: Program in the original English version
Alternative installation installation setup package
To successfully install the installation package in the ~/StructDB folder via the console, this quatrain is sufficient:
mint@linux ~ $ sudo add-apt-repository ppa:gambas-team/gambas3
mint@linux ~ $ sudo apt-get update
mint@linux ~ $ sudo dpkg --install ~/IP_StructDB/structdb_1.1.51-0ubuntu1_all.deb
mint@linux ~ $ sudo apt-get install --fix-broken
Since the program dpkg does not automatically resolve the dependencies of the packages to be installed, you must call the 4th command with the option –fix-broken or -f - without specifying package names - to install missing dependencies.
Program start variant
Figure 11.10.2.5.2: Program start by double-clicking on the file icon
Gambas on the development computer
The package manager, which installs the .deb-package on the target computer, checks whether all dependencies are fulfilled. The manager only knows the packages he has installed himself! Even if you compiled and successfully installed Gambas → chapters 2.1 to 2.5 on the target computer yourself, for example, and successfully installed it - but this does not mean that you can't successfully install a Gambas installation package! When creating the installation package on the development computer, only the package names are entered as dependencies, for example “gambas3-gb-settings”, if the project uses the component gb. settings. Since these names are standardized, the entries can be made independently of the locally installed packages on the development computer. Therefore, there are no requirements as you have installed Gambas on the development computer (!) - but the recommendation is that you always uninstall an existing Gambas installation before installing.

